At times Windows 10 users are greeted with the infamous No WiFi Networks Found in Windows 10 error. There can be multiple reasons behind the occurrence of this error. Consequently, we have shared multiple temporary and permanent solutions to fix this problem.
How To Fix No WiFi Network Found In Windows 10
So Here’s How To Fix No WiFi Network Found In Windows 10.
1. Ensure WiFi Is Turned On And Working
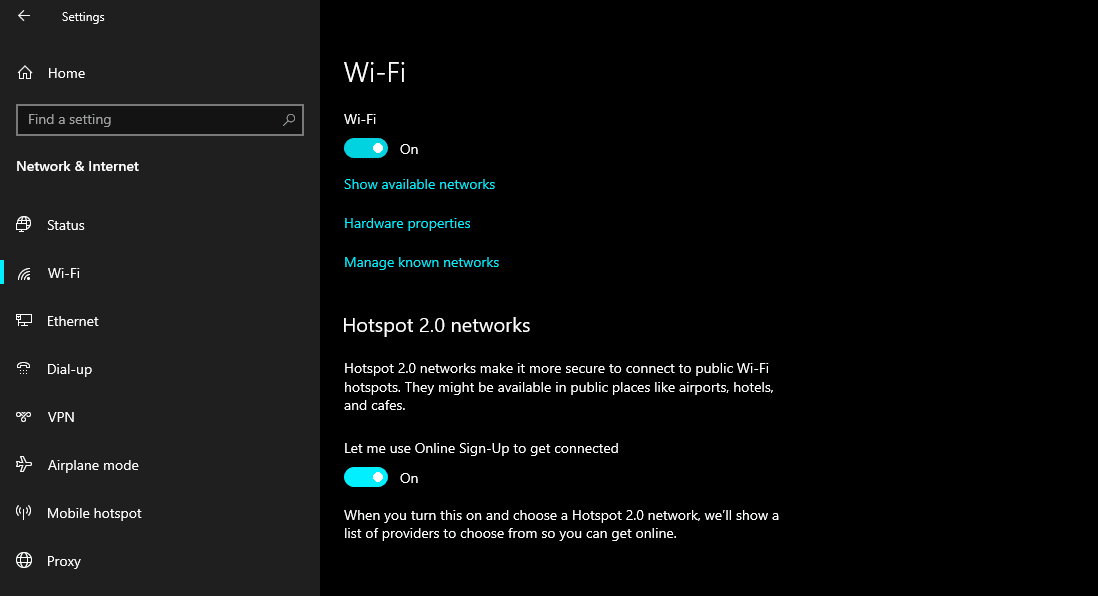
First and foremost ensure that WiFi is turned on your Windows PC. To do that tap on the WiFi icon on your Taskbar. If for some reason the WiFi icon is missing then open settings (you can use the keyboard shortcut Win + I) and tap on the Network & Internet section.
Finally, toggle the switch that turns on WiFi. You can now see all the available networks and connect to the internet. Now before moving on to other methods check whether your WiFi is actually working or not. To do so, connect any other computing device like a smartphone or a different PC to the WiFi. If you’re unable to connect then there’s some problem with your WiFi. So contact your ISP to get the WiFi problems resolved. However, If the secondary device connects then move on to the other methods shared in this article.
2. Use Ethernet Cable
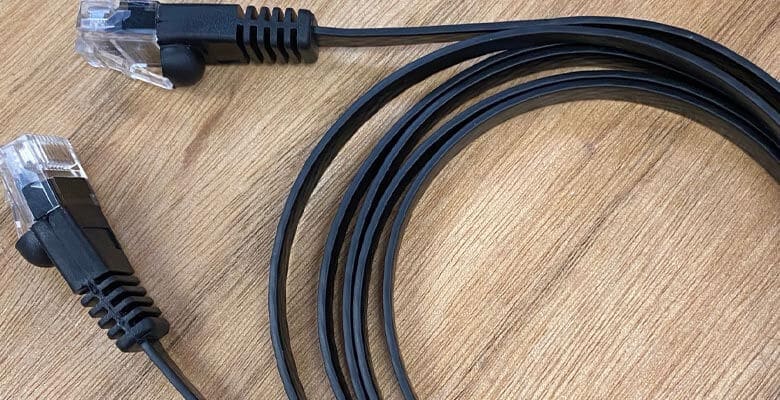
As the heading title suggests, If you want to get connected to the internet as soon as possible and don’t want to waste time following long solutions then using an Ethernet Cable might quickly and temporarily help you.
If you’re using Windows desktop PC then there will definitely be an Ethernet Port. Additionally, most mainstream laptops also have a built-in ethernet port. To connect your PC to the internet via Ethernet simply plug one end of the Ethernet Cable into your WiFi Router and the other end into your PC. Once again this solution is temporary to help you quickly get back to work.
3. Run The Network Troubleshooter
Every modern version of Windows comes with built-in troubleshooters to fix common issues with computer peripherals and network devices. Consequently, there’s a troubleshooter to fix problems associated with the WiFi adapters on Windows 10.
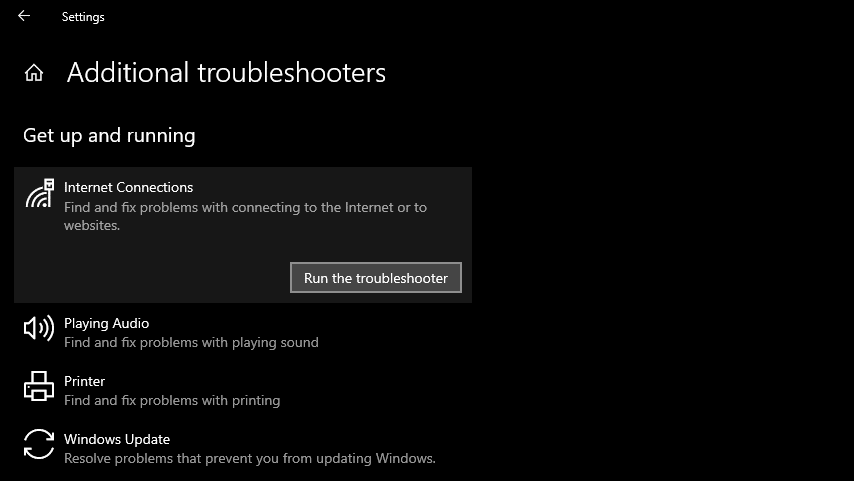
To run the Run Internet Connections Troubleshooter for fixing the No WiFi Option problem follow these simple steps, STEP 1: Press Windows + I keys to launch Settings STEP 2: Locate and Click on the Update & Security section STEP 3: Go to the Troubleshoot tab from the left panel and click on Additional troubleshooters STEP 4: Select Internet Connections and tap on the Run the troubleshooter button STEP 5: Finally Choose the Troubleshoot my connection to the Internet option. If everything goes well, the troubleshooter will identify and resolve the problem. Furthermore, you can also run the Network Adapter Troubleshooter using the exact same procedure.
4. Update Your Wi-Fi Adapter Driver
If your PC is using an outdated network driver then your laptop or desktop won’t be able to showcase the available networks. In this situation, all you have to do is update your Wi-Fi adapter driver.
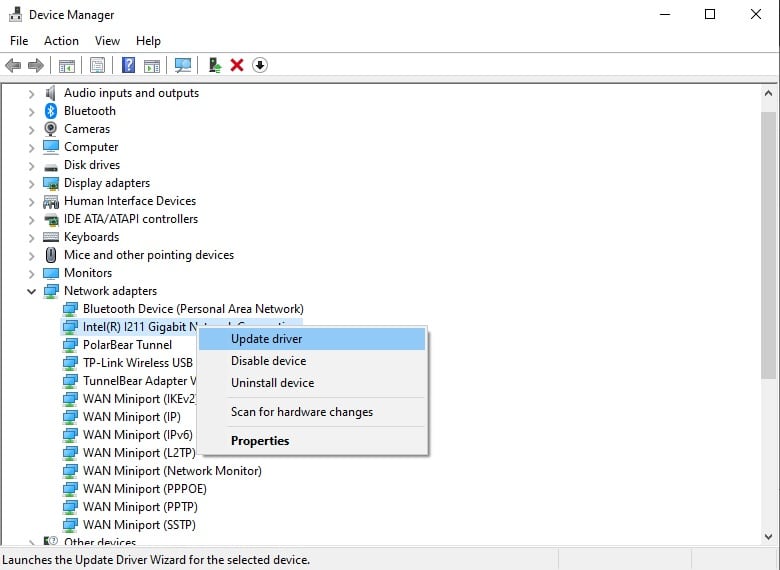
To do so, follow these simple steps, STEP 1: Press Windows Key + R keys to launch Run STEP 2: Type devmgmt.msc and hit enter to open the device manager STEP 3: Now locate the Network adapters section, expand it right-click on the WLAN card drivers STEP 4: Select update driver from the context menu STEP 5: Lastly, click on search automatically for updated driver software and follow the on-screen instructions to update the Network Adapter Driver. Once the process is completed restart your PC and you might now see WiFi networks.
5. Roll Back Wi-Fi Adapter Drivers
If you noticed that your previous drivers were working flawlessly and the No WiFi Network problem arrived only after you updated the drivers then you definitely need to roll back to the previous drivers.
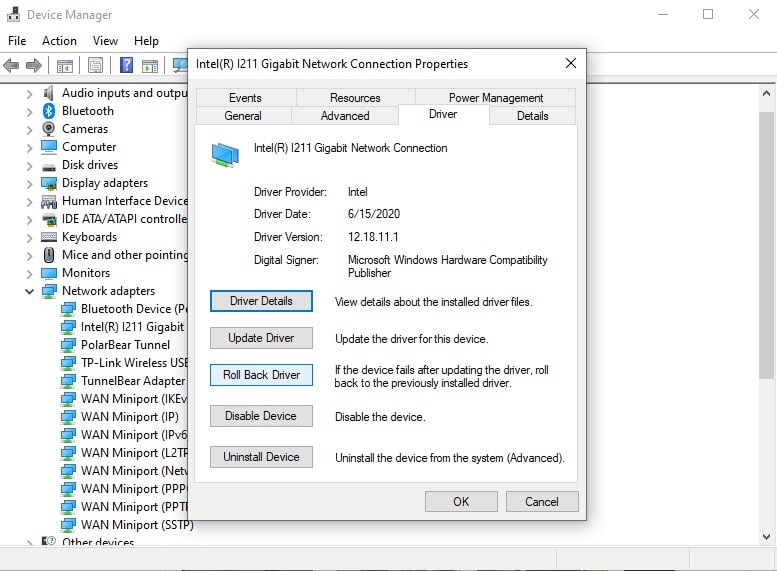
To do so, follow these simple steps, STEP 1: Press Windows Key + R keys to launch Run STEP 2: Once again type devmgmt.msc and hit enter to open the device manager STEP 3: Now locate the Network adapters section, expand it right-click on the WLAN card drivers STEP 4: Select Properties and go to the drivers tab, finally press the Roll Back Driver button. The Roll Back process will take you back to the previous drivers that functioned fully.
6. Perform A Network Reset
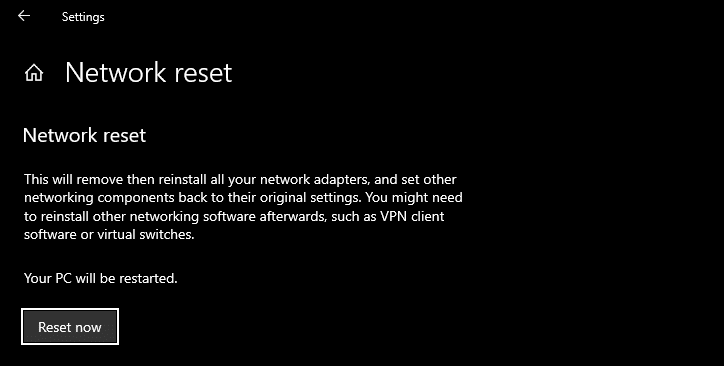
The next best way to fix the No WiFi Network Found Error is by performing a Complete Network Reset. As the name suggests, this process will remove and reinstall the network adapters.
To quickly perform a network reset open start search and type Network Reset. Once Network Reset pops up click on it and finally press the Reset Now button. If everything goes well your network will reset and you will start seeing WiFi networks soon.
7. Change 802.11 Channel Value
For the last method, we will change the 802.11 channel value. Since this method is a bit longer we have shared a detailed video on how to perform it followed by detailed instructions.
If the solution works you will see both 2.4GHz and 5GHz WiFi networks on your PC.
Why Are No WiFi Networks Showing Up On My PC?
Due to faulty Wi-Fi Adapter Drivers, you might not be seeing WiFi Networks. To fix this problem you can perform a network reset, run the network troubleshooter, or change the 802.11 channel value.
How Do I Fix No Wi-Fi Network Found?
To fix no Wi-Fi Network Found you can update Wi-Fi adapter drivers, rollback Wi-Fi adapter drivers, or uninstall your current Wi-Fi adapters and restart your PC. All three processes can be done from the device manager on your PC.
How Do You Fix A Laptop That Says No Network Found?
To fix a laptop that says No Network Found you can Perform A Network Reset. To do so open start search and type Network Reset. Lastly, press the Reset Now button. If everything goes well the problem will now be resolved. CONCLUSION So these were some of the best solutions to the No WiFi Networks Found On Windows 10 problem. If you have any more recommendations then feel free to let us know on our socials.
